What Is A Dislocated Shoulder? A dislocation of the shoulder joint happens when the bones making up your shoulder joint are moved apart so that the joint no longer functions. Your shoulder is made up of two bones: the ball (the end of the arm bone, or humerus) and the socket (part of your shoulder blade, or scapula). When the ball part of the joint is dislocated in front of the socket, it is called an anterior dislocation. When it is dislocated behind the socket, it is called a posterior dislocation. In severe dislocated shoulder cases, ligaments, tendons, and nerves also can be stretched and injured.
How Does It Occur? The most common type of dislocation is an anterior dislocation. It can be caused by a fall onto your outstretched hand or onto the shoulder itself.
A posterior dislocation may occur as a result of a powerful direct blow to the front of your shoulder. It may also be caused by a violent twisting of your upper arm, such as that caused by an electric shock or seizure.
Dislocated shoulders are common in contact sports such as football, rugby, hockey, and lacrosse. Other sports that may cause the injury include downhill skiing, volleyball, and soccer.
You also may be genetically susceptible to a dislocation, particularly if your shoulder goes out often or easily. Other members of your family may have the same problem.
What Are The Symptoms Of A Dislocated Shoulder? The main symptom is pain in your shoulder and upper arm that is made worse by movement.
If you have an anterior dislocation, you will find yourself holding your arm on the dislocated side slightly away from your body with your opposite hand. This will keep your dislocated shoulder in the least uncomfortable position. Your shoulder will have a large bump rising up under the skin in front of your shoulder. Your shoulder will look square instead of round.
If you have a posterior dislocation, you will hold your arm on the dislocated side tight against your body. You will have a large bump on the back of your shoulder.
How Is It Diagnosed? Your doctor will ask about your medical history, including your symptoms, previous treatment, and family history. During your physical exam, your doctor will check for:
- 1. Shoulder tenderness and weakness.
- 2. Numbness in the shoulder area, arm, or hand.
- 3. Pain when you move your shoulder or loss of normal shoulder motion.
- 4. Shoulder instability and deformity.
Your doctor will arrange for an x-ray of the joint and surrounding areas to confirm the dislocation and check for broken bones.
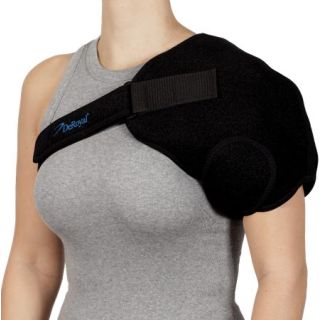
What Is The Treatment For A Dislocated Shoulder? You should go to your doctor's office or the hospital emergency room immediately when your shoulder becomes dislocated. Put ice on your shoulder. Cold reduces swelling by controlling internal bleeding and the buildup of fluids in and around the injured area.
Your doctor will reposition the head or ball of the joint back into the joint socket. This can sometimes be done with out an anesthetic if it is done within a few minutes after the dislocation occurs. If you have recurrent dislocations, you may be able to learn how to put your shoulder back into place by yourself. However, even in such cases you should see a doctor promptly to make sure the repositioning has been done properly.
Fifteen to thirty minutes after the injury, your dislocated shoulder will probably be quite swollen and painful. You may then need to be given an intravenous (IV) pain medication and muscle relaxant or general anesthesia before the doctor repositions your shoulder. Sometimes local anesthetic can be injected into the joint to help the doctor reposition the bones. After the repositioning, your doctor will have your shoulder x-rayed to make sure it is in the correct position.
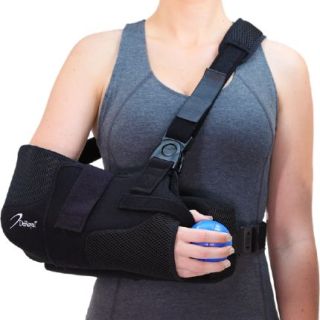
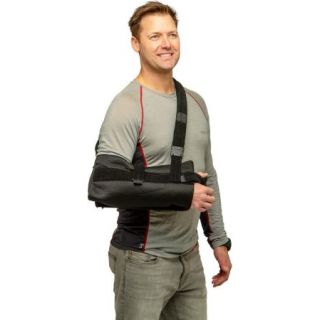
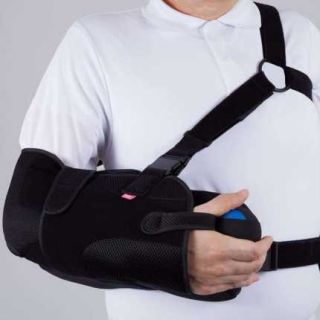
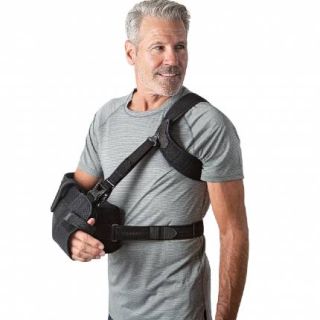
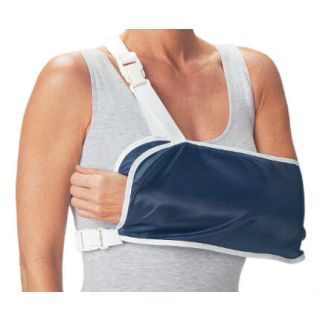
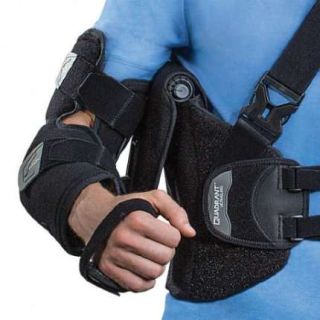
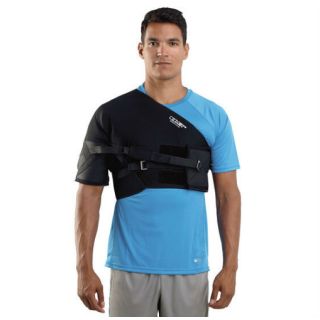
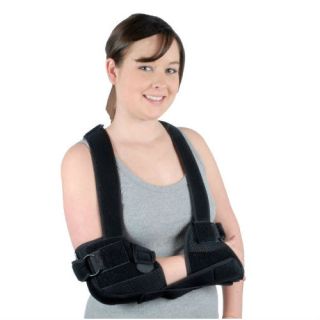
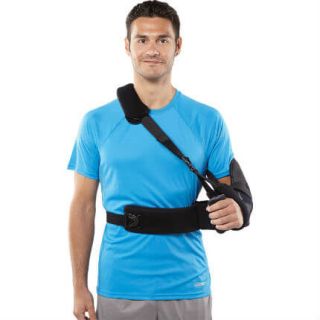
Your doctor will place your shoulder and arm in a type of sling called a shoulder immobilizer. It will aid healing by keeping your arm next to your body and stopping you from moving your shoulder. You will keep your shoulder and arm in the immobilizer for 2 to 3 weeks. You may begin shoulder rehabilitation exercises during this time or after you are no longer wearing the immobilizer.
You doctor may prescribe an anti-inflammatory medication or other pain medicine. You should continue to place ice packs on your shoulder for 20 to 30 minutes every 3 to 4 hours until the pain and swelling are gone.
In some cases, surgery may be needed to get the shoulder repositioned correctly or if it continues to dislocate. If your shoulder joint becomes weak because of repeated dislocations, your doctor may recommend an operation to tighten the ligaments that hold the joint together.
How Long Will The Effects Of A Dislocated Shoulder Last? The healing process may take 4 to 12 weeks, depending on the extent of your injury. With proper healing, you should regain full movement of your shoulder.
How Can I Take Care Of Myself? Follow your doctor's instructions when you begin to use you arm and shoulder again, or you may reinjure it. Do the rehabilitation exercises that are given to you by your doctor or therapist. Avoid participation in sports until the shoulder has had time to heal.
When Can I Return To My Sport Or Activity? The goal of rehabilitation is to return you to your sport or activity as soon as is safely possible. If you return too soon you may worsen your injury, which could lead to permanent damage. Everyone recovers from an injury at a different rate. Return to your sport will be determined by how soon your shoulder recovers, not by how many days or weeks it has been since your injury occurred.
You may safely return to your sport or activity when:
- 1. Your injured shoulder has full range of motion without pain.
- 2. Your injured shoulder has regained normal strength compared to the uninjured shoulder.
In throwing sports, you must gradually build your tolerance to throwing. This means you should start with gentle tossing and gradually throw harder. In contact sports, your shoulder must not be tender to touch and contact should progress from minimal contact to harder contact.
If you feel your arm popping out of the shoulder joint, contact your doctor.
What can be done to help prevent a dislocated shoulder?
- 1. Avoid situations in which you could suffer another dislocation.
- 2. Wear layers of clothing or padding to help cushion any fall that may be likely.
- 3. Do not return to sports until you have full recovery of motion and strength in the arm.
Dislocated Shoulder Rehabilitation Exercises: Perform these exercises as soon as your doctor says you can.
PART I
1. Isometrics:
A. Adduction: With a pillow between your chest and your arms, squeeze the pillow with your arms and hold 5 seconds. Release and repeat 10 times.
B. Flexion: Stand facing a wall with your elbow bent at a right angle and held close to your body. Press your fist forward against the wall, hold this for 5 seconds, then rest. Repeat this 10 times.
C. Extension: Standing facing away from the wall with your elbow touching the wall and hold for 5 seconds. Rest. Repeat 10 times.
D. Abduction: Standing with your injured side towards the wall and your elbow bent at a 90-degree angle, press the side of your arm into the wall as if attempting to lift it. Hold for 5 seconds. Rest. Repeat 10 times.
E. Internal rotation: Standing in a doorway with your elbow bent at a 90-degree angle, and your palm resting on the door frame, attempt to press your palms into the door frame and hold 5 seconds. Rest. Repeat 10 times.
F. External rotation: Standing in a doorway with your elbow bent at a 90-degree angle and the back of your hand pressing against the door frame, attempt to press your hand outward into the door frame. Hold 5 seconds. Rest. Repeat 10 times.
2. Careful range of motion:
A. Flexion: Standing with your arms straight, raise your arm forward and up over your head. Hold this position for 5 seconds. Return to the starting position and repeat 10 times.
B. Extension: Standing with your arms straight, move your arm backward while keeping your elbow straight. Hold this position for 5 seconds. Repeat 10 times.
C. Abduction: Standing with your arms at your side, slowly raise your arms out away from your body and hold in position for 5 seconds. Return to the starting position. Repeat 10 times.
D. Elbow flexion: Standing, bed your elbow, bring your hand toward your shoulder. Return to starting position. Repeat 10 times. As this becomes easier, add a weight to your hand to give yourself some resistance.
PART II
3. Tubing exercises:
A. Internal rotation: Using tubing connected to a door knob or other object a waist level, keep your elbow in at your side and rotate your arm inward across your body. Make sure you keep your forearm parallel to the floor. repeat 10 times. Do 2 sets of 10.
B. Adduction: Stand sideways with your injured side toward the door and out approximately 8 to 10 inches. Slowly bring your arm next to your body holding onto the tubing for resistance. Repeat 10 times. Do 2 sets of 10.
C. Flexion: Facing away from the door with the tubing connected to the door knob, keep your elbow straight and pull your arm forward. Repeat 10 times. Do 2 sets of 10.
D. Extension: Using the tubing, pull your arm back. Be sure to keep your elbow straight. Repeat 10 times. Do 2 sets of 10.
4. Latissimus dorsi strengthening: Sit on a firm chair. Place your hand on the seat on either side of you. Lift your buttocks off the chair. Hold this position for 5 seconds and then relax. Repeat 10 times. Do 2 sets of 10.
All material provided is designed for information purposes only and should not be used to replace the care of a health care professional. Do not rely on any of the information for diagnosis or treatment. It is recommended that you visit a qualified health care professional for individual and personal attention.