

-
 Details$32.99 $25.99
 -
Details$93.99 $84.99
-
Sale - Limited Time
Details$120.00 $79.99
-
Details$31.99 $22.99
-
Details$18.99 $14.99
-
Staff Choice
Details$127.99 $99.50
-
Best Seller
Details$100.70 $95.99
-
Details$99.99 $83.99
-
Details$31.99 $22.99
-
Details$17.99 $17.99
-
Details$29.99 $29.99
-
Details$44.99 $34.99


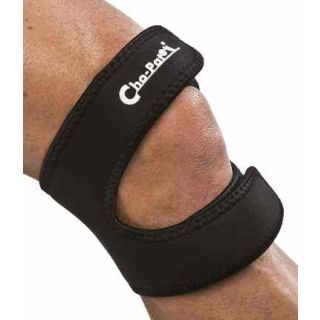
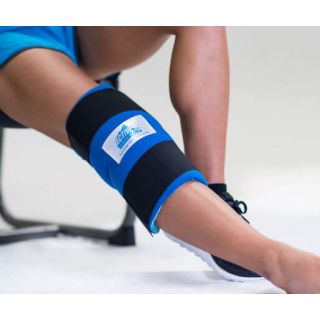
Understanding Osgood-Schlatter Disease - And How the Right Knee Brace Can Help
Osgood-Schlatter disease is a common overuse injury that affects growing children and teens-especially athletes. It causes pain, swelling, and tenderness just below the kneecap at the bony bump known as the tibial tubercle. The condition typically develops during growth spurts when the quadriceps muscle pulls on the patellar tendon, placing strain where it attaches to the shinbone.
Why Use a Brace for Osgood-Schlatter?
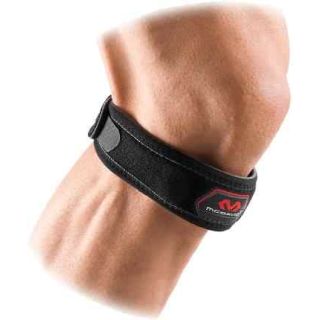
Wearing an Osgood-Schlatter knee brace can relieve tension on the patellar tendon, reduce inflammation, and help you or your child stay active with less pain. Braces are especially helpful during sports and other high-impact activities, offering targeted compression and support right where it's needed.
Shop the Best Osgood-Schlatter Braces
Every product in this category is chosen for its effectiveness, comfort, and medical-grade design. Whether you need a knee strap for Osgood-Schlatter disease, a low-profile brace for daily wear, or extra protection during sports, we've got you covered.
✅ Lightweight and adjustable for growing legs
✅ Designed by top orthopedic brands
✅ HSA/FSA eligible
✅ Fast shipping and expert customer support
Need help selecting the right option? Use our Brace Guide Tool or contact our bracing specialists for personalized recommendations.